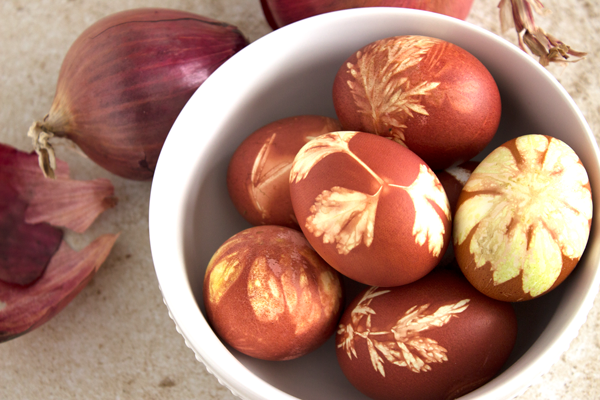
Onion Dyed Easter Eggs – my new favorite thing! 🙂
Happy Easter to all who celebrate!
My family and I are actually celebrating Easter on May 1st this year because we are Greek Orthodox, but, I couldn’t wait until then to share this gem of an idea. The funny thing is I really didn’t believe it would actually work! Onion skins actually create dye? Now, maybe red onions because I’ve peeled a few of those and ended up with purple hands, but, white onions? Yep! It works! And well at that!! Now, I used both red and white onion skins as the red skins make for a darker color and if you know anything about Greek Easter Eggs they are a Deep Vibrant Red.
A Natural Way to Dress Them Up
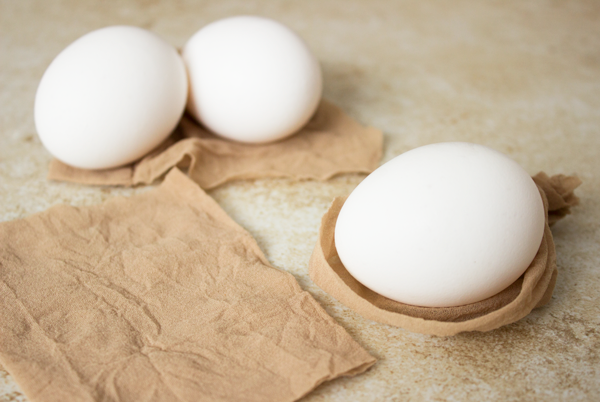
I also like the idea of creating a design on the eggs. In order to do this you need to apply something to the egg to prevent the dye from completely coloring the eggs. Enter NYLONS! Yes, a clean pair of pantyhose will help secure your designs and allow the dye to work through to the rest of the egg. L’eggs for eggs!
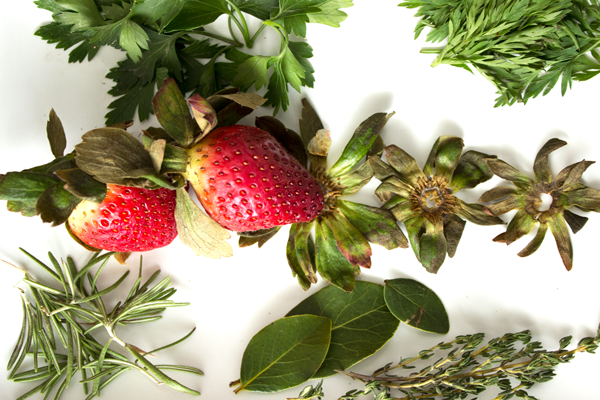
You can choose from a variety of things to make your designs. Since we are staying with the “Natural” theme I picked a variety of herbs and even some strawberry tops. They make a beautiful design!
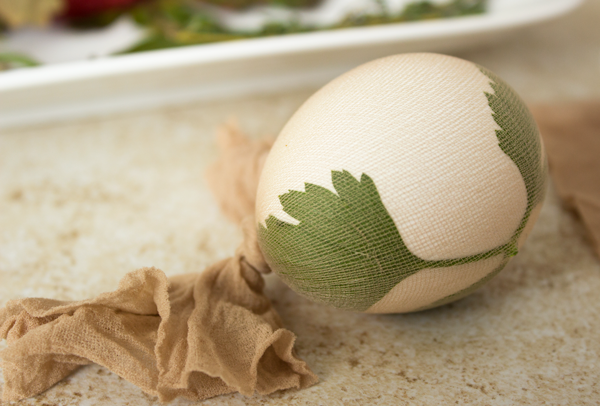
Whatever you are using, dampen the egg with a bit of water as it helps everything stick. Wrap it tightly in the nylon being careful not to break the egg. (The eggs are uncooked at this point.)
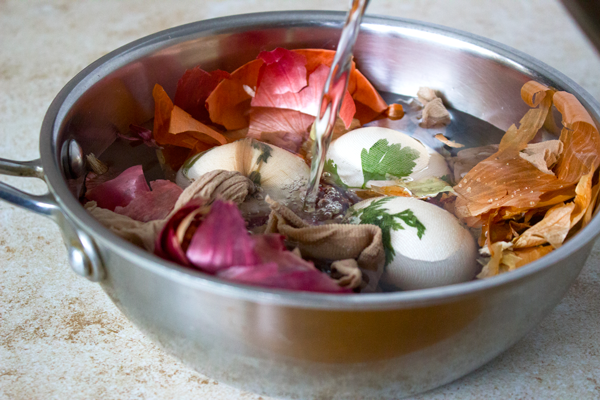
Place the eggs in a saucepan along with the onion skins. Use whatever size you need to allow the prepared eggs to be completely covered in water.
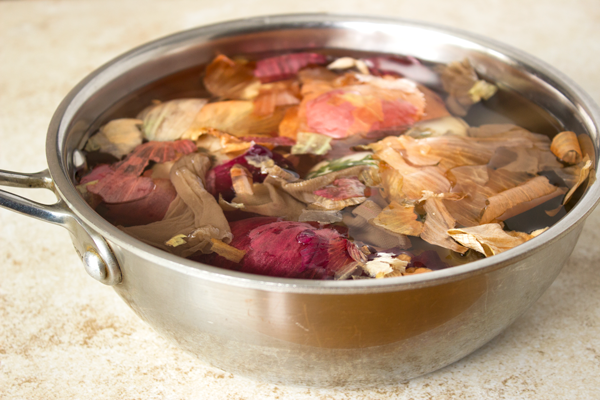
Now place the pan over medium-high heat, bring to a boil and simmer for 20 minutes. That’s it!
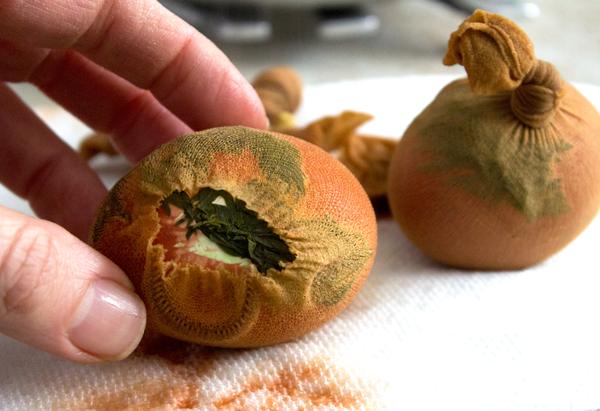
Remove the pan from the heat and carefully pull out the eggs. They will be very hot so take precautions. You can actually allow them to cool a bit before this step – I couldn’t wait! Cut off the nylons…
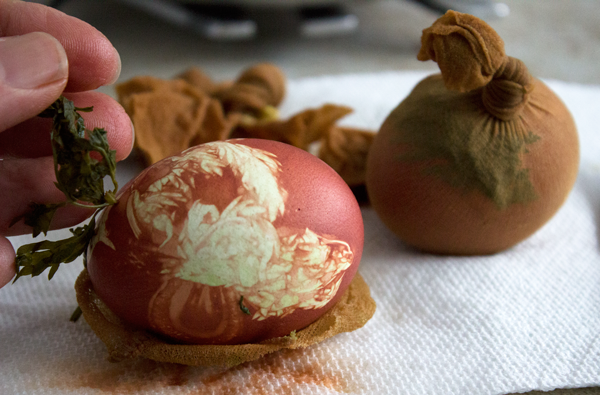
…then pull the herbs off of the eggs leaving behind the design transfer. Isn’t that SO COOL?!
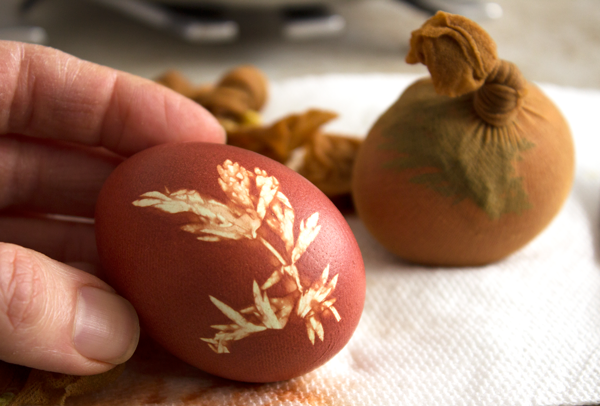
Different herbs make different patterns. These eggs had the fronds of a fresh carrot attached.
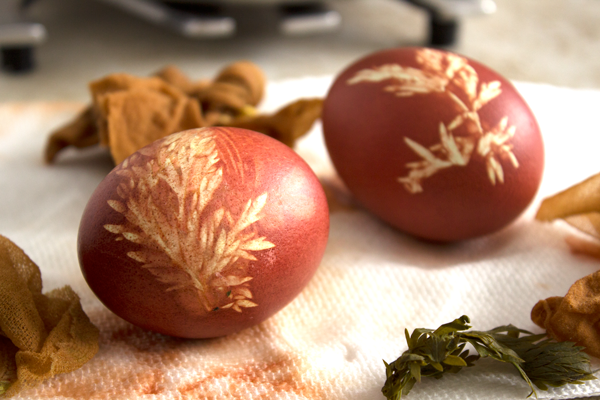
Blot the dyed eggs with some clean paper towels and buff with a little oil to create a shine.
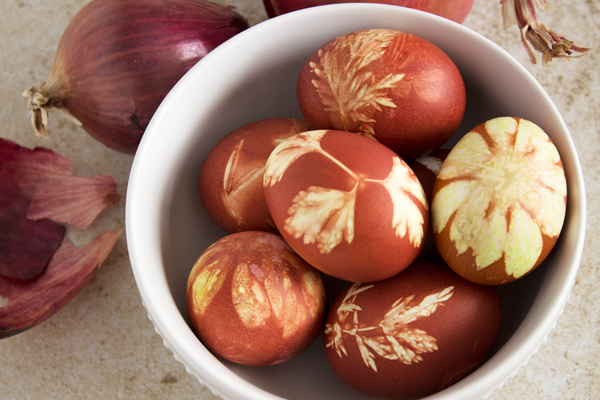
I really don’t think I can dye my eggs any other way. They are so beautiful and so unique!
Guess I’m going to have to start saving my onion skins for Greek Easter!! 😉
- This was the recipe that I demo-ed on Fox News Maine with Laura Elizabeth – Enjoy!
Onion Dyed Easter Eggs
An All Natural way to dye Easter Eggs
Ingredients
- 1 dozen eggs
- Skins from 10 onions
- 2 Tbsp. red wine vinegar
- Clean nylon stockings cut into 4” pieces
- Herbs, flours and/or leaves to decorate
Instructions
- Place onion skins in large stockpot.
- Make sure eggs are clean. Wet eggs slightly and apply leaves/flours to decorate. Place inside of piece of stocking and tie both ends. Make sure the egg is wrapped tightly so that the decoration stays in place.
- Place prepared eggs into the pot with the onion skins.
- Cover with water so that it is 1” above eggs. Add the vinegar and place the pot over medium-high heat.
- Bring to a boil, lower heat and simmer for 20 minutes.
- Check eggs for desired color.
- When ready, carefully remove eggs. Allow to cool slightly then remove the stockings and design pieces. Dry off and oil if desired for shine.
Just beautiful!
Thanks Marissa. They are a snap to make!
Were you still able to eat the eggs afterwards as in for deviled eggs or egg salad? Any experience is dipping the eggs into a cold dye of precooked onion skins with or without vinegar instead? I might start my eggs this way and then finish them once they and the cold dye have cooled so I can still use the eggs afterwards…
Hi Jasmine,
I find that a perfectly boiled egg is done in about 12 minutes. Dyeing them takes much longer so they will come out overcooked with a green tinge and have a stronger sulfur taste. Unfortunately, I don’t believe that the eggs will dye properly if you use the cold solution. If you want to, give it a try and let me know how they come out. I’d love to know! Thanks 🙂
are the eggs tastier if you use worn nylons?
LOL! Nah, I would use new if possible.
Does it matter if the eggs are cooked before the dyeing process? Thank you
Hi Kristina,
I would use raw eggs because they would absorb the dye better.
This is brilliant and beautiful!!! I love the nylon idea with the objects, and the beautiful pattern it leaves. I am going to try this with some Ozark Egg Gourds! I have so many and always looking for new crafts to do with them.
Hi Dawn,
Thank you! What you are doing sounds amazing. I have never seen an Ozark Egg Gourd. Please share some pics when you finish!
Hello, I am curious to know if you boiled the water with the onion skins prior to adding the eggs or if you turned on the heat with everything already in? I’m wondering if it’s possible to boil the water with the onion skins to help extract the colour and then add the eggs so they can dye within a reasonable time so they are the perfect boiled egg to still eat.
Thanks! They look amazing.
Hi Kitty, thanks for the question. When I made these I cooked the eggs and onion skins together. The water was cold when I placed them in. I have made hard boiled eggs before by dropping them into hot boiling water but they can crack due to the shock of the temperature change (especially if they are cold out of the fridge). Try simmering the onions in the water ahead of time, allowing it to cool, then adding the eggs and bringing to a slow boil. Cover and take off of the heat. Allow the eggs to cook for twelve minutes and then remove them. This is the perfect way to cook an egg. I am not sure if they will have as vibrant a color but it is worth a try. If you try this please let me know how it turns out. Good luck! 🙂